Shot put technique determines whether athletes maximize their strength and explosiveness or leave meters on the competition circle. When high school and collegiate throwers master the fundamental mechanics underlying both glide and spin techniques—proper grip and hand position, explosive leg drive, sequential body rotation, effective blocking, and precise release angles—they transform raw power into distances worthy of school records and personal recognition.
Yet many developing throwers struggle with technique breakdowns that limit performance potential. Athletes rely exclusively on upper body strength without engaging powerful lower body drive, rush through the circle sacrificing balance and positioning for perceived speed, fail to establish proper release angles resulting in reduced distance despite good speed, neglect the blocking action that creates separation and final acceleration, and practice techniques without understanding the biomechanical principles that make them effective. Meanwhile, schools celebrating athletic achievements often overlook the technical mastery behind record-breaking throws.
This comprehensive guide explores shot put technique across both traditional glide and modern spin methods, from fundamental mechanics to advanced competition strategies—helping throwers, coaches, and athletic programs build the technical foundation that produces championship performances and record board recognition.
Shot put technique represents one of track and field’s most technically demanding events, requiring precise coordination of multiple body segments in rapid sequence. Unlike events where natural athleticism can partially compensate for technical deficiencies, shot put rewards athletes who develop proper mechanics allowing efficient transfer of force from powerful legs through the torso and into the implement.

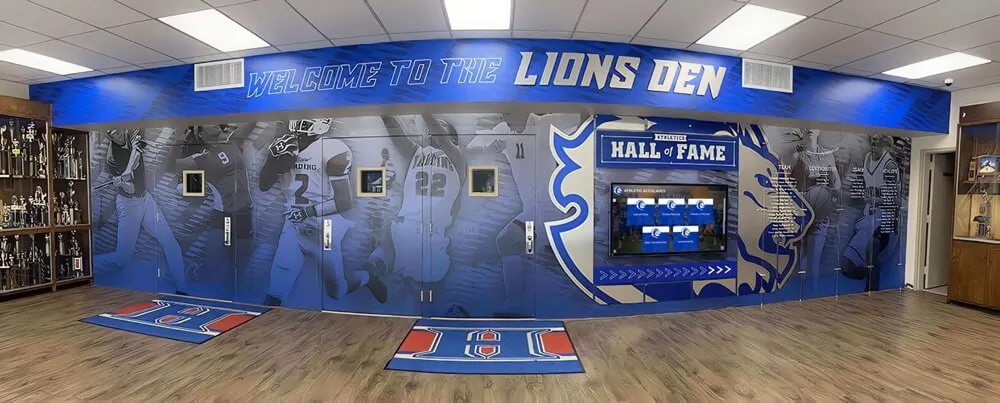
Track and field record displays celebrate shot put achievements earned through mastery of proper throwing technique
Understanding Shot Put Fundamentals
Before learning specific throwing techniques, athletes must master foundational elements that apply across all shot put styles.
The Shot Put Implement
Competition shot puts vary by gender, age, and competition level:
Standard Implement Specifications
- High school boys: 12 pounds (5.443 kg)
- High school girls: 8.8 pounds (4 kg)
- College men: 16 pounds (7.257 kg)
- College women: 8.8 pounds (4 kg)
- Elite men: 16 pounds (7.257 kg)
- Elite women: 8.8 pounds (4 kg)
Implement Characteristics
- Spherical metal ball with smooth surface
- Diameter ranges from approximately 95-130mm depending on weight
- Must be held against neck and jaw during throw
- Cannot be held in palm during legal put
- Surface texture affects grip security
Understanding implement specifications matters for proper technique development, as different weights require adjusted timing and force application patterns while maintaining consistent fundamental mechanics.
Proper Grip and Hand Position
The foundation of effective shot put technique starts with correct implement hold:
Neck Position Requirements
- Shot rests in hollow between neck and jaw
- Maintained contact throughout throwing motion
- Creates stable platform for final release
- Legal positioning verified by officials
- Losing contact results in foul throw
Hand and Finger Placement
- Fingers spread across back of shot
- Hand positioned behind and slightly under implement
- Wrist cocked back maintaining tension
- Elbow elevated creating pushing angle
- Thumb and pinky provide stability
![]()
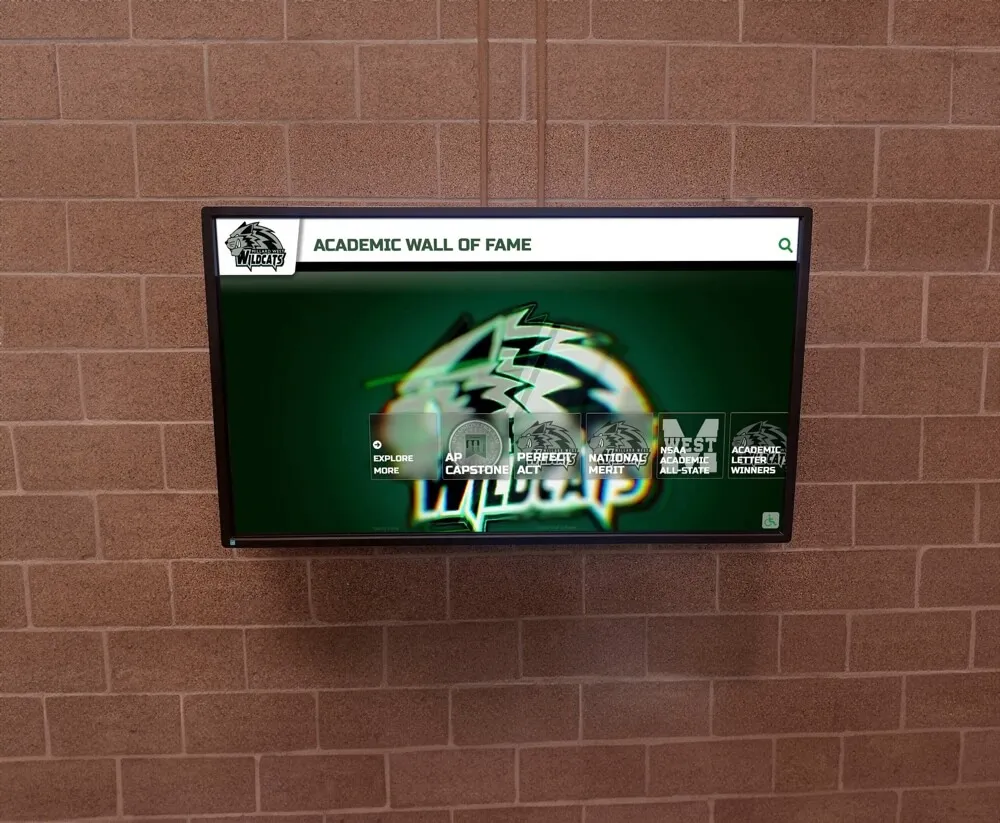
Interactive displays showcase track and field records including shot put achievements and athlete progression
Common Grip Errors
- Holding shot in palm rather than fingers (reduces control and power)
- Insufficient finger spread (creates instability)
- Flat wrist position (weakens final release)
- Low elbow placement (compromises pushing angle)
- Loose contact with neck (creates inconsistent release point)
Learn more about celebrating track and field achievements in athletic recognition programs.
Release Angle and Trajectory
Optimal release mechanics maximize distance potential:
Ideal Release Angle
- Theoretical optimum approximately 42 degrees for elite throwers
- Actual optimal angles typically 38-40 degrees accounting for release height
- Varies based on release height and velocity
- Higher release points favor slightly lower angles
- Release velocity more important than perfect angle
Release Height Considerations
- Taller athletes achieve higher release points
- Release height of 2.0-2.2 meters common for elite men
- Release height of 1.7-1.9 meters typical for elite women
- Higher releases allow slightly flatter angles while maintaining distance
- Body position at release directly affects height
Velocity vs. Angle Trade-offs
- Release velocity has greater impact on distance than angle
- Sacrificing speed for perfect angle reduces distance
- Focus on explosive final effort rather than precise angle hunting
- Natural throwing motion produces near-optimal angles with practice
- Video analysis reveals individual optimal release parameters
The Glide Technique
The traditional glide technique remains widely taught and highly effective, particularly for developing throwers building fundamental mechanics.
Glide Starting Position
Proper setup creates foundation for powerful throw:
Back of Circle Stance
- Athlete faces away from throwing direction
- Weight primarily on right foot for right-handed throwers (reverse for left-handed)
- Left leg extended behind providing counter-balance
- Torso bent forward approximately 45 degrees
- Shot secured against neck with elevated elbow
Pre-Glide Preparation
- Focus on throwing sector and landing area
- Establish balanced position allowing explosive movement
- Mental rehearsal of technique sequence
- Controlled breathing and focus
- Timing routine consistent across throws

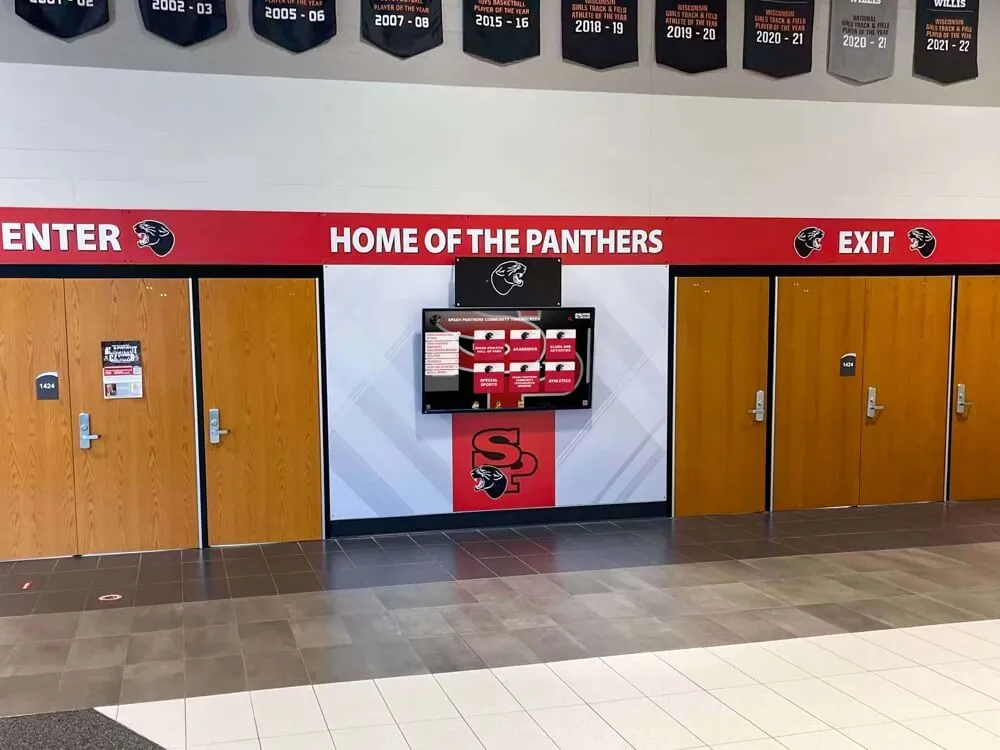
Modern recognition systems celebrate track and field athletes' achievements across throwing, running, and jumping events
Executing the Glide Phase
The glide moves the athlete from back to center of circle while maintaining throwing position:
Initial Drive
- Push off right foot driving toward center
- Left leg kicks back and around staying low
- Right foot slides quickly across circle surface
- Torso maintains forward lean and closed position
- Hips stay low throughout glide
Mid-Glide Positioning
- Right foot travels approximately to circle center
- Left foot reaches toward toe board
- Hips remain rotated away from throw direction
- Shoulders stay closed relative to hips
- Shot stays back maintaining separation
Landing Position (Power Position)
- Right foot lands near circle center at approximately 90 degrees to throw direction
- Left foot touches down near toe board
- Wide base with feet beyond shoulder width
- Weight primarily on right leg
- Torso still rotated away creating torque
Common Glide Errors
- Rising during glide (reduces power from subsequent drive)
- Opening shoulders prematurely (eliminates rotational advantage)
- Short glide distance (limits velocity potential)
- Narrow landing position (compromises stability and power)
- Rushing into delivery before establishing power position
Power Position and Delivery
From the glide landing, athletes execute the throwing motion:
Hip and Leg Drive
- Explosive extension of right leg initiating throw
- Hip rotation from closed to open position
- Left leg braces against toe board blocking rotation
- Sequential activation from legs through torso
- Maintaining low-to-high force application
Upper Body Rotation and Delivery
- Chest opens following hip rotation
- Right shoulder drives forward and upward
- Elbow stays high throughout delivery
- Explosive arm extension at release
- Shot leaves hand at optimal height and angle
Blocking Action
- Left side braces creating axis for rotation
- Left leg resists allowing right side to accelerate
- Trunk flexion over firm front side
- Creates whip-like effect in throwing arm
- Essential for maximum release velocity
Follow-Through and Balance
- Reverse feet after release maintaining circle
- Right leg comes forward absorbing momentum
- Left leg moves back
- Controlled finish preventing fouls
- Balance indicates proper technique execution
Discover comprehensive athletic recognition approaches in staff appreciation and recognition systems.
The Spin Technique (Rotational)
Modern spin technique adds complexity but offers distance advantages for athletes who master the additional rotation.
Understanding Rotational Advantages
The spin technique differs fundamentally from the glide:
Increased Pathway Distance
- Longer acceleration path for the shot
- Additional rotation creates more force application time
- Shot travels greater distance across circle
- Allows multiple force applications
- Particularly beneficial for athletes with rotational strength
Momentum Generation
- Rotational velocity adds to linear velocity
- Continuous motion rather than discrete phases
- Athletic, flowing movement pattern
- Leverages whole-body rotation
- Creates higher peak velocities when executed properly
Technical Complexity Trade-offs
- Requires superior balance and coordination
- More timing-sensitive than glide
- Greater technique breakdown risk under competition pressure
- Longer learning curve to master
- Demands consistent practice for muscle memory development

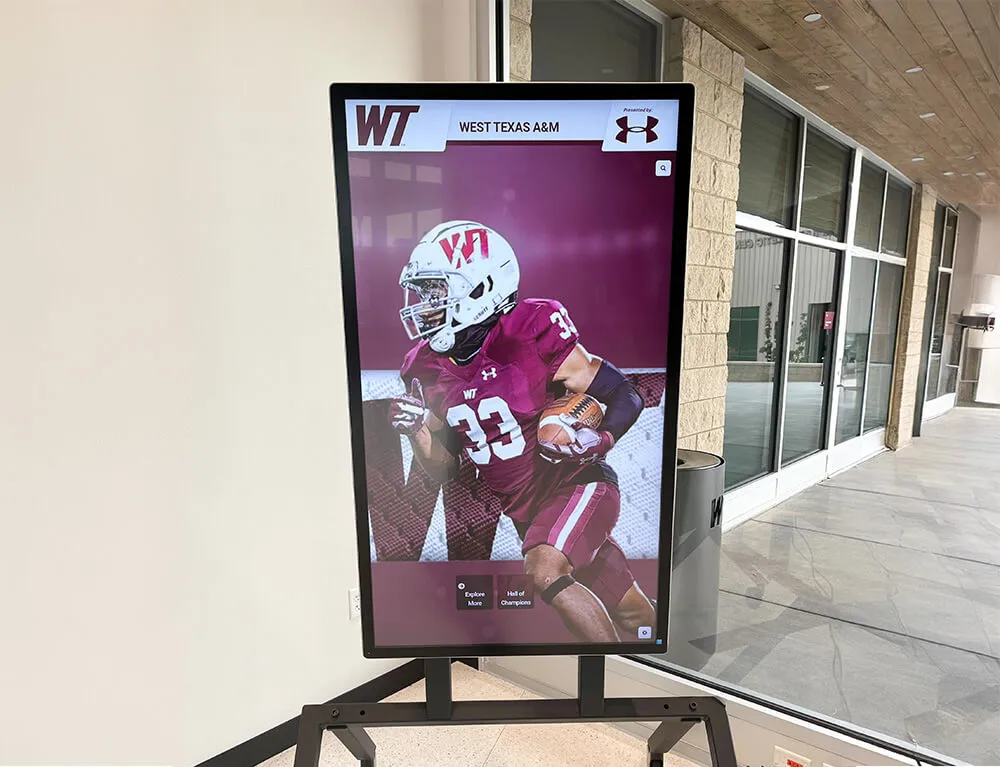
Athletic facility designs integrate recognition displays documenting records across all track and field events including throws
Spin Technique Starting Position
Setup for rotational technique differs from glide:
Initial Stance
- Athlete stands at back of circle facing away from throw
- Feet positioned wider than in glide technique
- Weight balanced between both feet
- Torso more upright than glide starting position
- Shot secured against neck with proper hand position
Pre-Rotation Preparation
- Establishing rotational axis through body center
- Focus point at back of circle
- Controlled weight shift initiating rotation
- Mental preparation for continuous motion
- Consistent pre-throw routine
Executing the Rotation
The spin phase requires precise timing and balance:
Initial Rotation (First 180 Degrees)
- Weight shifts to right foot initiating rotation
- Left foot pivots beginning turn
- Hips and shoulders rotate together initially
- Low center of gravity maintained
- Controlled rotational speed building momentum
Mid-Rotation Phase
- Right foot lifts and sweeps around
- Left foot pivots on ball of foot
- Torso stays closed relative to rotation
- Shot remains back in throwing position
- Balance over rotating axis critical
Landing in Power Position
- Right foot lands near circle center
- Left foot quickly touches down near toe board
- Wide, stable base established
- Hips rotated away from throw direction
- Separation between hips and shoulders maintained
Common Spin Errors
- Excessive speed sacrificing balance
- Rising during rotation (reduces subsequent power)
- Opening shoulders during spin (eliminates stored torque)
- Landing with narrow base (compromises stability)
- Inconsistent landing position (creates timing variations)
Delivery from Rotational Technique
The final throwing motion from spin technique:
Power Position Delivery
- Same delivery mechanics as glide technique once power position established
- Explosive leg drive initiating throw
- Sequential hip and shoulder rotation
- High elbow position through release
- Blocking action creating separation
Timing Considerations
- Brief pause or immediate delivery from rotation landing
- Personal preference and rhythm dependent
- Consistent timing pattern crucial
- Some throwers emphasize pause for stability
- Others maintain continuous motion for momentum
Balance and Foot Work
- Reverse step preventing foul
- Controlled follow-through
- More challenging balance recovery than glide
- Requires practice for consistent execution
- Indicates proper weight distribution through throw
Learn about celebrating athletic achievements in digital trophy case solutions.
Technical Drills for Shot Put Development
Systematic drill work builds muscle memory for proper technique.
Standing Throw Progressions
Isolating the delivery phase builds fundamental mechanics:
Basic Standing Throw
- Start in power position without glide or spin
- Focus on proper throwing mechanics
- Emphasize leg drive initiating motion
- Sequential rotation through hips and shoulders
- Perfect for technique refinement and warm-up
South African Drill
- Feet together facing throw direction
- Shot put delivery without lower body drive
- Isolates upper body mechanics
- Builds understanding of trunk rotation and arm path
- Useful for correcting upper body errors
Step-Back Drill
- Begin facing throw direction
- Step back with right foot
- Immediately deliver throw
- Simulates power position landing
- Develops quick transition to delivery
Glide-Specific Drills
Progressive drills building complete glide technique:
Glide Without Shot
- Practice glide footwork without implement
- Focus on low, fast movement
- Establish proper landing position
- Build muscle memory for foot placement
- Higher repetition without fatigue
Partial Glide Series
- Start closer to power position
- Gradually lengthen glide distance
- Build confidence with shorter movements first
- Progress to full glide as technique solidifies
- Allows focus on specific phase

Modern trophy cases integrate digital displays showcasing track and field records and athlete achievements
Heavy and Light Implement Training
- Throws with heavier shots (15-20% over competition weight)
- Throws with lighter shots (15-20% under competition weight)
- Heavy builds strength and positions
- Light develops speed and technique flow
- Always return to competition weight for technique work
Spin-Specific Drills
Progressive development of rotational technique:
Pivot Drill
- Practice rotation without leaving ground
- Both feet pivot in place
- Develops rotational feeling and balance
- Builds understanding of axis and rotation
- Safe drill for beginners learning spin
Single Support Drill
- Balance on right foot at back of circle
- Left foot off ground throughout rotation
- Rotates 180 degrees landing in split position
- Develops balance and rotational control
- Key drill for understanding weight distribution
Medicine Ball Spin Throws
- Use lighter implement (medicine ball)
- Practice full spin technique
- Higher volume without fatigue
- Focus on rhythm and timing
- Builds confidence in complete motion
Progressive Spin Distance
- Begin with minimal rotation
- Gradually increase rotational angle
- Build from 90-degree turns to 180 degrees to full 270+ degrees
- Allows technical mastery at each stage
- Reduces intimidation factor for new rotational throwers
Strength and Conditioning for Shot Put
Physical development complements technical skill in throwing events.
Essential Strength Qualities
Shot put performance requires specific physical attributes:
Lower Body Power
- Explosive leg strength drives throwing motion
- Squats, deadlifts, and Olympic lift variations
- Single-leg exercises for balance and stability
- Plyometric training for rate of force development
- Box jumps, depth jumps, and bounding exercises
Rotational Strength and Power
- Oblique and core strength for torso rotation
- Medicine ball rotational throws
- Cable and resistance band rotational exercises
- Woodchoppers and Russian twists
- Anti-rotation exercises building stability
Upper Body Strength
- Bench press and overhead press variations
- Pulling strength for balanced development
- Shoulder stability and health
- Wrist and forearm strength for implement control
- Push-press and jerk movements
Full-Body Integration
- Olympic lifts teaching explosive triple extension
- Power cleans and power snatches
- Hang variations emphasizing hip drive
- Teaching force transfer from ground through body
- Developing coordinated, sequential power production
Learn about comprehensive athletic recognition in digital hall of fame displays.
Shot Put-Specific Conditioning
Sport-specific preparation enhancing competition performance:
Throwing Volume Management
- Balance technique work with physical recovery
- High-volume days using lighter implements
- Lower volume with competition weight
- Periodization across training phases
- Rest and recovery preventing overuse injury
Speed and Agility Work
- Despite implement weight, shot put requires speed
- Sprint training developing explosive movement
- Agility drills improving body control
- Jump training for rate of force development
- Movement quality impacting technique execution
Mobility and Flexibility
- Hip mobility crucial for both glide and spin
- Shoulder flexibility and health
- Ankle mobility for proper positions
- Thoracic spine rotation
- Dynamic warm-up routines preparing for practice

Digital displays document team histories and individual records across seasons of track and field competition
Competition Strategy and Mental Approach
Technical execution under competition pressure determines success.
Meet Preparation and Warm-Up
Systematic preparation optimizes competition performance:
Pre-Competition Planning
- Arrive with sufficient time for complete warm-up
- Familiarize with competition circle and conditions
- Understand competition format and flight assignments
- Mental rehearsal of technique and goals
- Equipment check and implement verification
Progressive Warm-Up Sequence
- General cardiovascular warm-up elevating heart rate
- Dynamic stretching and mobility work
- Progressive throwing with light implements
- Gradual progression to competition weight
- Several full-technique throws before competition starts
Timing Considerations
- Complete warm-up 10-15 minutes before first throw
- Stay warm and loose during wait
- Activation exercises between throws
- Monitor time remaining in round
- Consistent routine across competitions
Attempt Strategy
Maximizing performance across limited throws:
Early Attempts
- Establish competitive mark with first throw
- Solid, controlled technique prioritizing legal throw
- Build confidence with successful execution
- Avoid all-out effort risking foul
- Create pressure on competitors
Progressive Aggression
- Increase intensity with subsequent throws
- Technical consistency remaining priority
- Final attempts justify maximum risk
- Adjust strategy based on standing and competition
- Confidence from previous throws enabling full effort
Foul Management
- Understanding foul line and circle boundaries
- Controlled follow-through preventing fouls
- Technical breakdown often causes fouls
- Better to sacrifice slight distance for legal throw
- Zero distance from foul eliminates mark
Explore modern recognition approaches in basketball rebounding and athletic achievement displays.
Mental Toughness and Focus
Psychological approach affecting performance:
Handling Pressure
- Focus on process rather than outcome
- Trust training and preparation
- Single-throw focus avoiding ahead thinking
- Recovery from poor throws or fouls
- Confidence in technical mastery
Competitive Awareness
- Understanding standings and competition marks
- Strategic approach based on position
- Avoiding distraction from competitors’ performances
- Focusing on personal execution
- Using competition as motivation not intimidation
Visualization and Mental Rehearsal
- Imagining perfect technique execution
- Feeling successful throw sequences
- Preparing for various scenarios
- Building confidence through mental practice
- Integrating visualization into training routine
Video Analysis and Feedback
Technology enhances technique development and correction.
Recording Effective Video
Capturing footage for analysis:
Camera Angles and Positioning
- Side view capturing complete throw from start to finish
- Back view showing rotational mechanics and alignment
- Release angle view from throwing direction
- Multiple angles providing complete picture
- Stable camera position with full circle in frame
Recording Frequency
- Regular recording throughout training cycle
- Documentation of technique changes
- Comparison across training phases
- Competition footage when permitted
- Building video library tracking development
Analyzing Technique
Systematic review identifying strengths and weaknesses:
Key Analysis Points
- Starting position and setup
- Glide or spin execution and positions
- Power position achievement and stability
- Delivery sequence and timing
- Release angle and follow-through
Comparison Techniques
- Side-by-side comparison of attempts
- Comparing to model throwers or previous personal bests
- Identifying consistent patterns vs. variations
- Slow-motion analysis of critical phases
- Measurement tools for angles and positions
Creating Action Plans
- Prioritizing corrections based on impact
- Drill selection addressing specific errors
- Progressive correction avoiding overwhelming changes
- Re-filming to verify improvement
- Celebrating technical progress
Integrating Shot Put Recognition into Athletic Programs
Modern athletic facilities celebrate throwing achievements where they occur through integrated recognition displays.
Track and Field Record Boards
Contemporary technology brings record boards into the digital era:
Comprehensive Throwing Event Recognition
Solutions like Rocket Alumni Solutions enable schools to showcase shot put and throwing achievements through digital displays:
- Unlimited record capacity across shot put, discus, javelin, and hammer
- Automatic ranking by distance and historical comparison
- Photo and video integration celebrating record throws
- Remote updates immediately reflecting new marks
- Mobile access via QR codes enabling athlete and fan exploration
Recognition Display Features
- Event-specific record boards for each throwing discipline
- All-time records alongside season and meet marks
- Athlete profiles with complete throwing progression
- Team records and championship results
- Integration with meet management systems
Strategic Placement
- Visibility from track and field facility areas
- Indoor installations in athletic wings and lobbies
- High-traffic areas maximizing engagement
- Connection to school’s broader athletic recognition program
- Creating inspiration for current and future throwers
Record Board Content Strategy
Comprehensive recognition celebrates diverse achievements:
Shot Put Records
- Overall school records by gender and division
- Freshman, sophomore, junior, senior class records
- Indoor vs. outdoor record differentiation
- Season bests and career progressions
- Championship meet performances

Interactive touchscreen displays enable exploration of track records, athlete profiles, and program history
Thrower Recognition Categories
- Top ten all-time performers
- Decade-by-decade record holders
- Conference and state qualifier recognition
- Personal record achievements
- Technique mastery milestones
Historical Context
- Record progression over program history
- Championship meet results and team scores
- Notable competitors and rivalries
- Facility records vs. school records
- Recognition of coaching contributions
Explore comprehensive approaches to athletic achievement recognition in state championship bracket displays.
Common Technique Errors and Corrections
Identifying and addressing frequent mistakes accelerates development.
Glide Technique Errors
Rising During Glide
- Problem: Athlete rises vertically during glide phase
- Impact: Reduces power from subsequent leg drive
- Correction: Focus on staying low, push back not up
- Drill: Glide under horizontal bar or rope
- Mental cue: “Push the floor away”
Opening Shoulders Early
- Problem: Shoulders rotate toward throw during glide
- Impact: Eliminates rotational power advantage
- Correction: Keep chest facing away from throw until power position
- Drill: Partner holds shoulders during glide
- Mental cue: “Stay closed until landing”
Short Glide Distance
- Problem: Insufficient distance traveled across circle
- Impact: Limited velocity potential and power generation
- Correction: Aggressive push from back leg, quick right foot
- Drill: Measure glide distance, progressive extension
- Mental cue: “Big push, fast feet”
Spin Technique Errors
Excessive Rotational Speed
- Problem: Spinning too fast sacrificing balance
- Impact: Poor power position landing, reduced force application
- Correction: Controlled rotation emphasizing positions
- Drill: Slow-motion spins focusing on balance
- Mental cue: “Balanced turn, powerful finish”
Standing Up During Rotation
- Problem: Rising vertically during spin
- Impact: Reduces subsequent power, balance issues
- Correction: Maintain low center of gravity throughout
- Drill: Spin under horizontal bar
- Mental cue: “Stay down through the turn”
Inconsistent Landing Position
- Problem: Variable power position from throw to throw
- Impact: Inconsistent delivery timing and results
- Correction: Targeted landing spot, consistent rotation pattern
- Drill: Mark ideal landing positions, repetition focus
- Mental cue: “Same spot every time”
Delivery Phase Errors
Leading with Upper Body
- Problem: Arm/shoulder movement before hip drive
- Impact: Eliminates powerful leg and hip contribution
- Correction: Leg drive initiates all throws
- Drill: Standing throws emphasizing leg drive first
- Mental cue: “Legs, hips, chest, arm”
Poor Blocking Action
- Problem: Left side (for right-handers) doesn’t brace
- Impact: Reduced separation and final acceleration
- Correction: Active left leg and trunk resistance
- Drill: Block against wall or partner resistance
- Mental cue: “Firm front side”
Low Release Point
- Problem: Shot released below optimal height
- Impact: Reduced distance despite good effort
- Correction: High elbow throughout delivery, extend upward
- Drill: Release point markers, standing throws
- Mental cue: “Reach high and release”
Discover display solutions for athletic facilities in digital archives and recognition systems.
Choosing Between Glide and Spin Techniques
Athletes and coaches must determine optimal technique for individual throwers.
Athlete Characteristics Favoring Glide
When Glide May Be Optimal
- Beginning throwers learning fundamentals
- Athletes with limited rotational training background
- Throwers with exceptional linear power and strength
- High school athletes with limited practice time
- Those struggling with balance in rotational technique
- Preference for simpler, more consistent technique
Glide Advantages
- Shorter learning curve to competency
- More forgiving of technique variations
- Easier to execute consistently under pressure
- Better for athletes with strength over speed emphasis
- Simpler coaching and feedback process
Athlete Characteristics Favoring Spin
When Spin May Be Optimal
- Athletes with rotational sport background (discus, hammer)
- Superior body awareness and balance abilities
- Throwers emphasizing speed over pure strength
- Long-term development pathway toward elite level
- Athletes who master glide seeking additional distance
- Access to quality spin technique coaching
Spin Advantages
- Greater distance potential at elite levels
- Longer acceleration path for implement
- Utilizes whole-body rotational power
- More “athletic” movement pattern
- Skills transfer to other rotational throws
Practical Considerations
- Available coaching expertise in each technique
- Practice time and facility access
- Competition season timeline
- Individual learning preferences
- Physical attributes and strengths
- Long-term athletic goals
Periodization and Training Planning
Systematic training progression optimizes performance across competitive season.
Training Phases
General Preparation Phase (Off-Season)
- Building foundational strength and conditioning
- High-volume technique work with lighter implements
- Developing both glide and spin for well-rounded skills
- Mobility and movement quality emphasis
- Lower intensity, higher volume approach
Specific Preparation Phase (Pre-Season)
- Increasing throwing intensity and specificity
- Greater emphasis on competition weight implements
- Technique refinement for primary throwing style
- Strength training becoming more power-focused
- Progressive approach to competition distances
Competition Phase (In-Season)
- Technical consistency maintenance
- Competition-specific preparation
- Strategic training around meet schedule
- Recovery and injury prevention priority
- Performance peaks for championship meets
Transition Phase (Post-Season)
- Active recovery and restoration
- Address any injury or overuse issues
- Maintain general fitness with lower volume
- Technique adjustment and experimentation
- Mental recovery and goal setting for next cycle
Weekly Training Structure
High School Season Example
- Monday: Technique and volume day
- Tuesday: Strength training and conditioning
- Wednesday: Technique refinement, moderate volume
- Thursday: Competition preparation or rest
- Friday/Saturday: Competition or quality throwing
- Sunday: Rest and recovery
College/Elite Example
- Multiple throwing sessions per week
- Strength training 3-4 sessions weekly
- Periodized volume and intensity
- Strategic recovery protocols
- Individualized based on athlete needs
Frequently Asked Questions About Shot Put Technique
What is the difference between glide and spin shot put techniques?
The glide technique uses a linear movement across the circle where the thrower pushes from the back of the circle to the power position with a low, fast sliding motion. The spin (rotational) technique involves a 180-270 degree rotation across the circle, similar to discus technique, creating a longer acceleration path. Glide is simpler to learn and more consistent for beginners, while spin offers greater distance potential but requires superior balance and timing.
How important is strength versus technique in shot put?
Both strength and technique are essential, but technique determines how effectively strength translates into distance. A stronger athlete with poor technique will often be defeated by a technically proficient athlete with moderate strength. Proper technique allows efficient force transfer from powerful legs through the torso into the implement. Elite throwers combine exceptional strength with refined technique, but developing throwers should prioritize technical mastery while building strength progressively.
What is the power position in shot put?
The power position is the throwing stance achieved after the glide or spin phase, from which the actual delivery occurs. In this position, the throwing-side foot (right for right-handed throwers) lands near circle center rotated approximately 90 degrees from throw direction, while the front foot quickly touches down near the toe board. The hips are rotated away from throw direction with shoulders remaining closed, creating stored torque. This position allows maximum force application through sequential hip and shoulder rotation.
How can I increase my shot put distance?
Increasing distance requires simultaneous improvement in technique, strength, and power. Focus on proper throwing mechanics ensuring efficient force transfer, particularly explosive leg drive and sequential body rotation. Develop lower body strength and power through squats, Olympic lifts, and plyometric training. Increase rotational strength with medicine ball throws and core exercises. Practice with varied implement weights to develop both strength and speed. Video analysis helps identify specific technique errors limiting distance.
Should high school throwers learn glide or spin technique first?
Most high school throwers should begin with glide technique, mastering fundamental throwing mechanics before attempting more complex rotational technique. Glide teaches proper power position, delivery mechanics, and blocking action—all essential for spin technique as well. Once athletes achieve technical competency and competitive success with glide, adding spin technique becomes more productive. Some naturally athletic throwers may learn both simultaneously, but most benefit from sequential progression focusing on glide fundamentals first.
Conclusion: Technical Mastery Creates Championship Throwers
Mastering shot put technique—whether traditional glide or modern spin methods—transforms athletic potential into measurable performance worthy of school records and championship recognition. When throwers develop proper fundamental mechanics including precise grip and release positions, explosive leg drive initiating all throws, sequential body rotation creating maximum force, effective blocking action, and consistent delivery under competition pressure, they maximize every ounce of strength and speed into distances that define successful track and field careers.
The comprehensive technical guidance, drill progressions, and training principles explored throughout this guide provide frameworks for systematic skill development regardless of experience level, technique preference, or competitive goals. From foundational standing throws to complete glide and spin techniques, from strength training principles to competition strategies, these fundamentals ensure throwers build the technical foundation that produces sustained improvement and peak performance.
Most importantly, proper shot put technique development creates measurable achievements worthy of celebration through modern recognition systems. Athletes who invest in technical mastery earn personal records and school marks deserving permanent display—connecting their hard-earned accomplishments to the facilities and programs that supported their development.
Celebrate Shot Put Excellence
When your throwers master proper technique and achieve record-breaking distances, those achievements deserve lasting recognition. Discover how modern digital displays showcase shot put records, athlete profiles, and throwing program history—creating inspiring recognition that celebrates excellence where it happens.
Explore Track & Field Record SolutionsWhether coaching beginning throwers learning fundamental positions or working with advanced athletes refining rotational technique, the technical principles, drill progressions, and training strategies outlined here provide essential knowledge for developing championship-level shot put performance. Proper technique ensures safe, efficient force application enabling distance progression, while systematic training approaches build the strength, power, and consistency required for competitive success.
Successful shot put development requires patience, detailed technical coaching, progressive strength development, and systematic practice allowing muscle memory formation. Video analysis validates technique improvement, drill work isolates and corrects specific mechanical errors, and competition experience builds the mental toughness required for peak performance under pressure. Integration of modern recognition technology connects technical mastery to the lasting celebration those achievements deserve.
The investment in understanding and implementing proper shot put technique—whether glide or spin—pays dividends throughout athletic careers and beyond, developing not just throwing distance but also work ethic, attention to detail, and the satisfaction of mastering complex physical skills through dedicated practice and technical refinement.
Your track and field program deserves throwers who understand that distance comes from technique as much as strength, combined with recognition systems that celebrate every record-breaking performance achieved through that technical mastery.